1. Cut a sheet of A4 paper in half (horizontally) and glue together with a 2cm overlap to make a long strip like in the image below. This is the headband. Put the strip around your head to see if it fits. You may need to add another strip if it doesn’t fit. Keep it aside
Step 2.
Decorating the red background part of the headpiece
2. Use a red sheet of paper, if you do not have a red sheet of paper then you can colour a white sheet in red. Keeping the paper vertical, draw curve shapes like small rainbows all over the sheet, using different shades of red. See below.
Step 3. Cutting the shape of the red background for the headpiece
3. Once you have finished, turn the paper horizontally and fold it in half. Mark 6cm on the left bottom edge and using a ruler draw a line to the top left corner so it looks like a triangle
4. On the top left corner draw a curvy shape like the image below.
5. Keep the paper folded and cut out the shape. When you unfold it, it should look like the shape in the image below. Keep aside with your headband.
Draw, colour and cut a 1cm wide and 21cm long strip. Keep aside.
Step 4. Making the Dragon
7. Draw the dragon’s body on a separate sheet of A4 paper keeping the paper vertical so the body fills the page. Make sure you use the whole sheet of paper as in the image below.
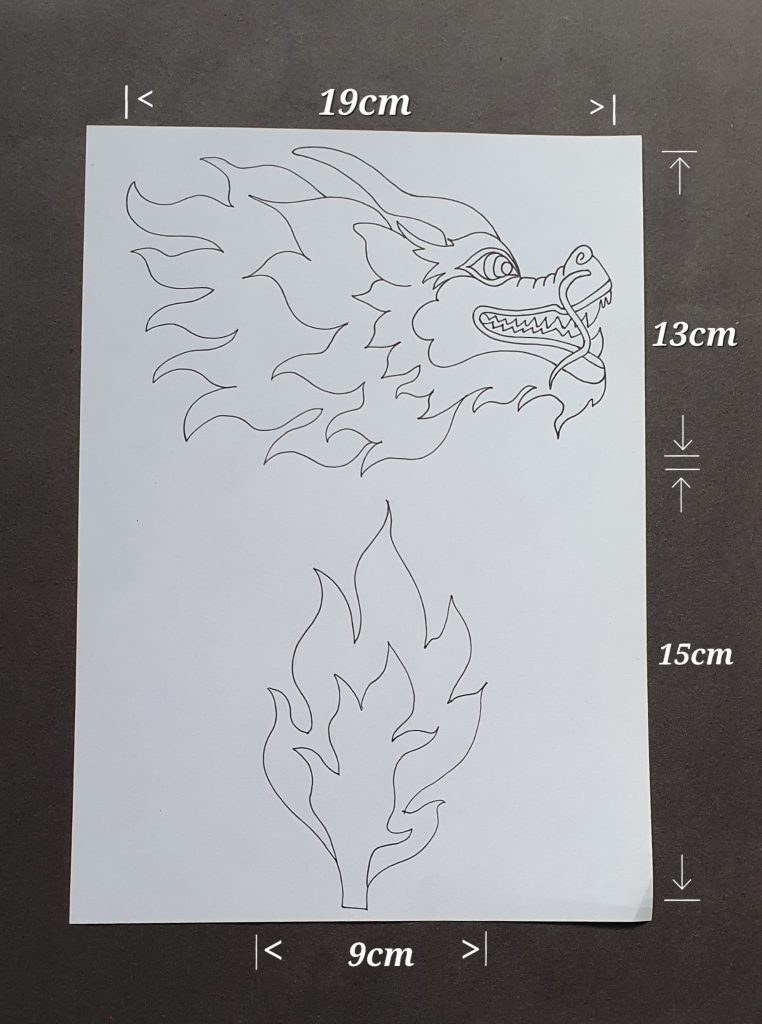
8. Draw your dragon head on a separate sheet of A4 paper. Make sure the size of the head matches the size of the body you have drawn. In the space below the head, draw the tail. We have included measurements as a guide to help. See below.
9. Colour the dragon’s body, headdress and tail. You will need to colour both sides of the dragon as when it is stuck on you can see the back of it.
Cut out the dragon shapes and keep aside.
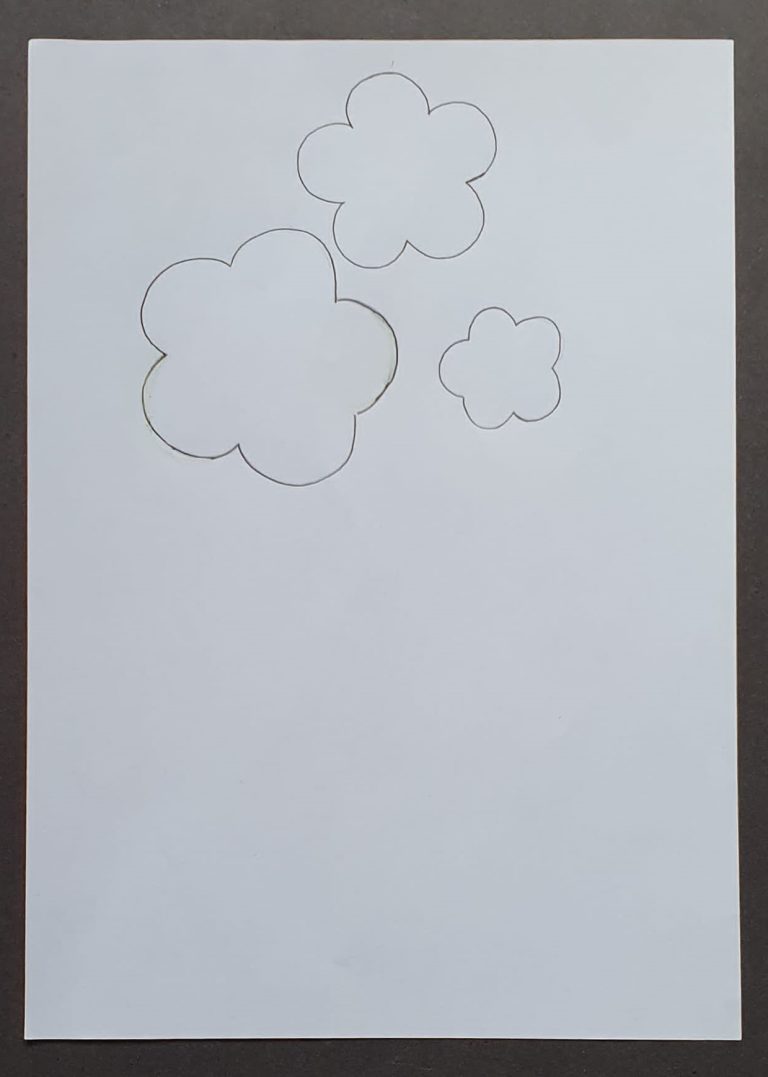
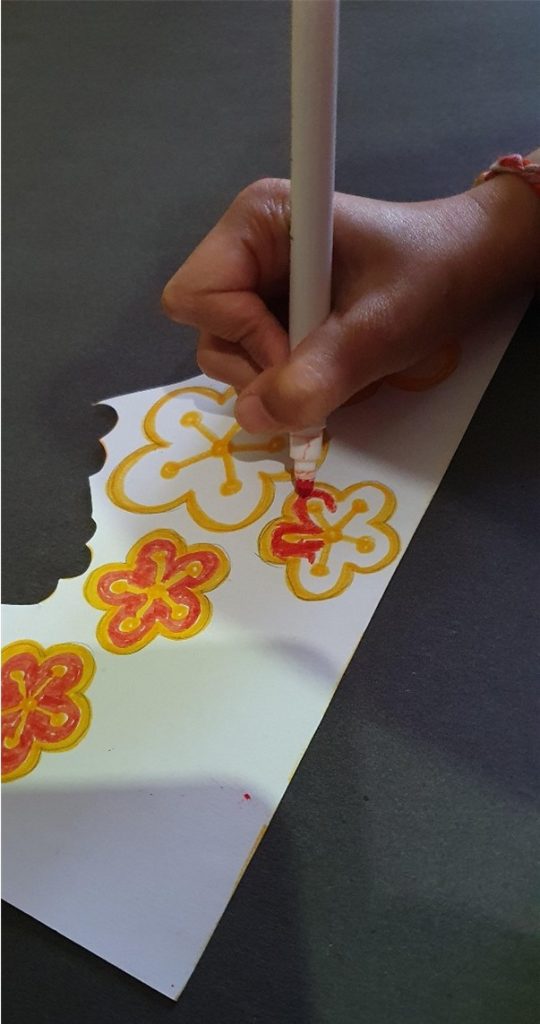
11. Using any off cuts of paper, draw, colour and cut three different sizes of flowers.
Step 5. Assembling the headpiece
12. Glue the shape with the red rainbows to the centre of the headband band you prepared in step 1. Make sure the straight narrow edge is lined up to the bottom of the headband and that the rainbows are at the front.
13. Glue the dragon head and tail to the dragon’s body as in the picture below. To make the dragon look slightly 3D do not stick the head completely flat onto the dragon’s body.
14. Now position the dragon onto the headpiece. Making sure the tail is on one side of the head. Try to position the dragon so it is not flat on the base of the headpiece. This will make it look 3D as in the images below. Colour the headband red.
15. Glue the yellow strip on the front, bottom edge of the headpiece and glue the flowers around the headband.
WELL DONE!
CHINESE DRAGON HEADDRESS
HOPE YOU HAD FUN CREATING YOUR OWN CHINESE DRAGON HEADDRESS
You can add something shiny to the Chinese dragon headdress to make it more creative and sparkly
We would love to see your fantastic creations so please share your pictures with us on social media @mahoganycarnival.
Thank you for using our template. We hope you enjoyed making your Chinese dragon and we look forward to seeing you on our next creative making carnival workshop.