Cut a sheet of A4 paper in half, horizontally and glue together with a 2cm overlap to make a long strip like the image below. This is your headband.
Put the headband around your head to see if it fits. You may need to add another strip if it doesn’t fit. Keep it aside.
Step 2-
Drawing the bunch of Shamrocks.
2. A Shamrock is a 3 sided leaf that is used as a symbol of Ireland. Using the picture below as a guide, place a sheet of paper horizontally and draw a bunch of shamrocks. Draw the leaves in different sizes. Use the measurements in the image below to help you to draw the bunch of shamrocks at the correct size.
Bunch of shamrocks for left side
3. Colour your bunch of shamrocks using different shades of green, light green and dark green to make the shamrocks interesting. Cut them out along the outside edge of the whole bunch of leaves you have drawn so you have a big shape made up of lots of small leaves in the middle as in the picture below.
4. You will need 2 bunches one for the left side of your headdress and one for the right side. Turn the shape you have cut out over and trace round it. Now draw shamrocks inside the outline as similar to the first bunch of shamrocks you have already drawn as in the image above. So you have 2 shapes that are opposite reflections of each other. Keep your 2 symmetrical bunches aside.
Bunch of shamrocks for the right side
Step 3 - Making the Harp
5. Placing another sheet of paper vertically, draw a harp. Draw Celtic patterns around the other curvy edges and add thick lines in the middle for the strings.
.
Then draw shamrocks in between the strings as in the image below to create a leafy effect.
6. Colour the harp in gold and the shamrocks in green. Use different shades of yellow and gold to add light and shade to make a shiny effect. Make sure you colour parts of the harp in gold that are in between the shamrocks to show that the shamrocks are around the harp as in the picture below. Cut it out and keep aside.
Step 4- Assembling the headress
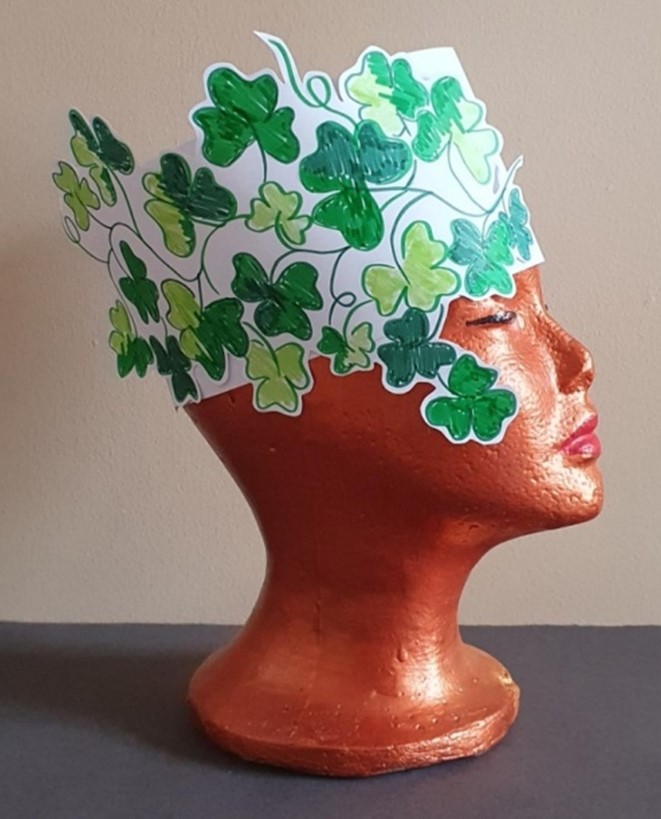
7. Find the center of the headband and place your left bunch of shamrocks on the left side leaving a gap of 19cm in the middle. Then place the right side bunch of shamrocks on the opposite side. Once you are happy with the spacing, glue both shapes down. Use the images below to guide you. Make sure you leave a 13cm space at the bottom as this is where your eyes will be.
.
Left side
Right Side
Middle Space
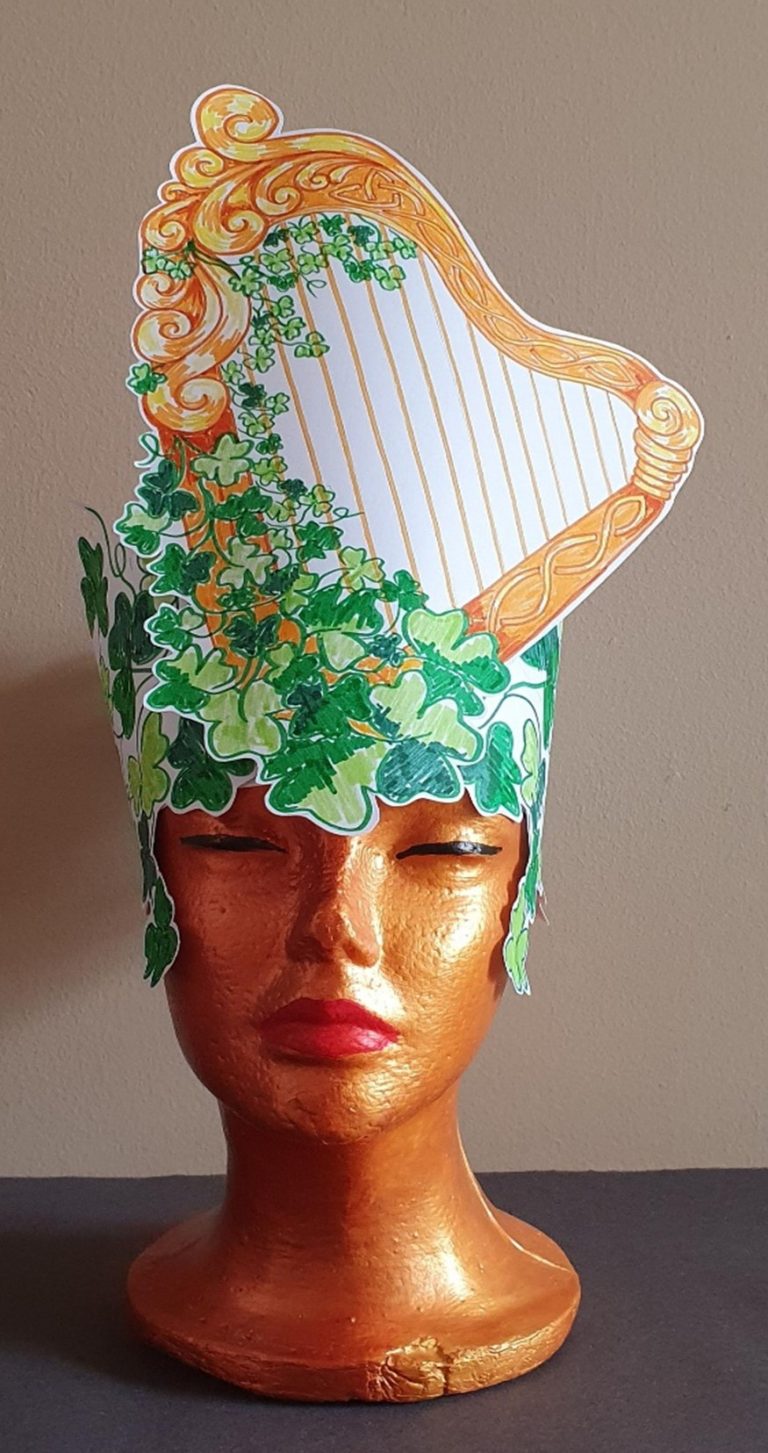
8.Glue your harp in the centre front of the headband. Place the bottom of the harp in the middle of your shamrock bunches making sure that the leafy side of the harp is vertical as in the pictures below.
WELL DONE!
ST PATRICK'S DAY HARP HEADDRESS TUTORIAL
HOPE YOU HAD FUN CREATING YOUR OWN ST PATRICK'S DAY HARP HEADDRESS TUTORIAL
You can add something shiny to the St Patrick’s Day harp headdress to make it more creative and sparkly. Ha
We would love to see your fantastic creations so please share your pictures with us on social media @mahoganycarnival.
Thank you for using our template. We hope you enjoyed making your St Patrick’s Day and we look forward to seeing you on our next creative making carnival workshop.