

Here’s how to create your very own Chinese Year of the Ox mask using paper, for Chinese New Year or other special fun events.
What you need
To make your Chinese Ox Mask you will need:
- 2 sheets of A4paper, red is best but any colour will do.
- Colour pens, pencils, paint or markers
- A glue stick or sticky tape
- Scissors
- Glitter or other items to add sparkle
- String or ribbon
Here are the templates:
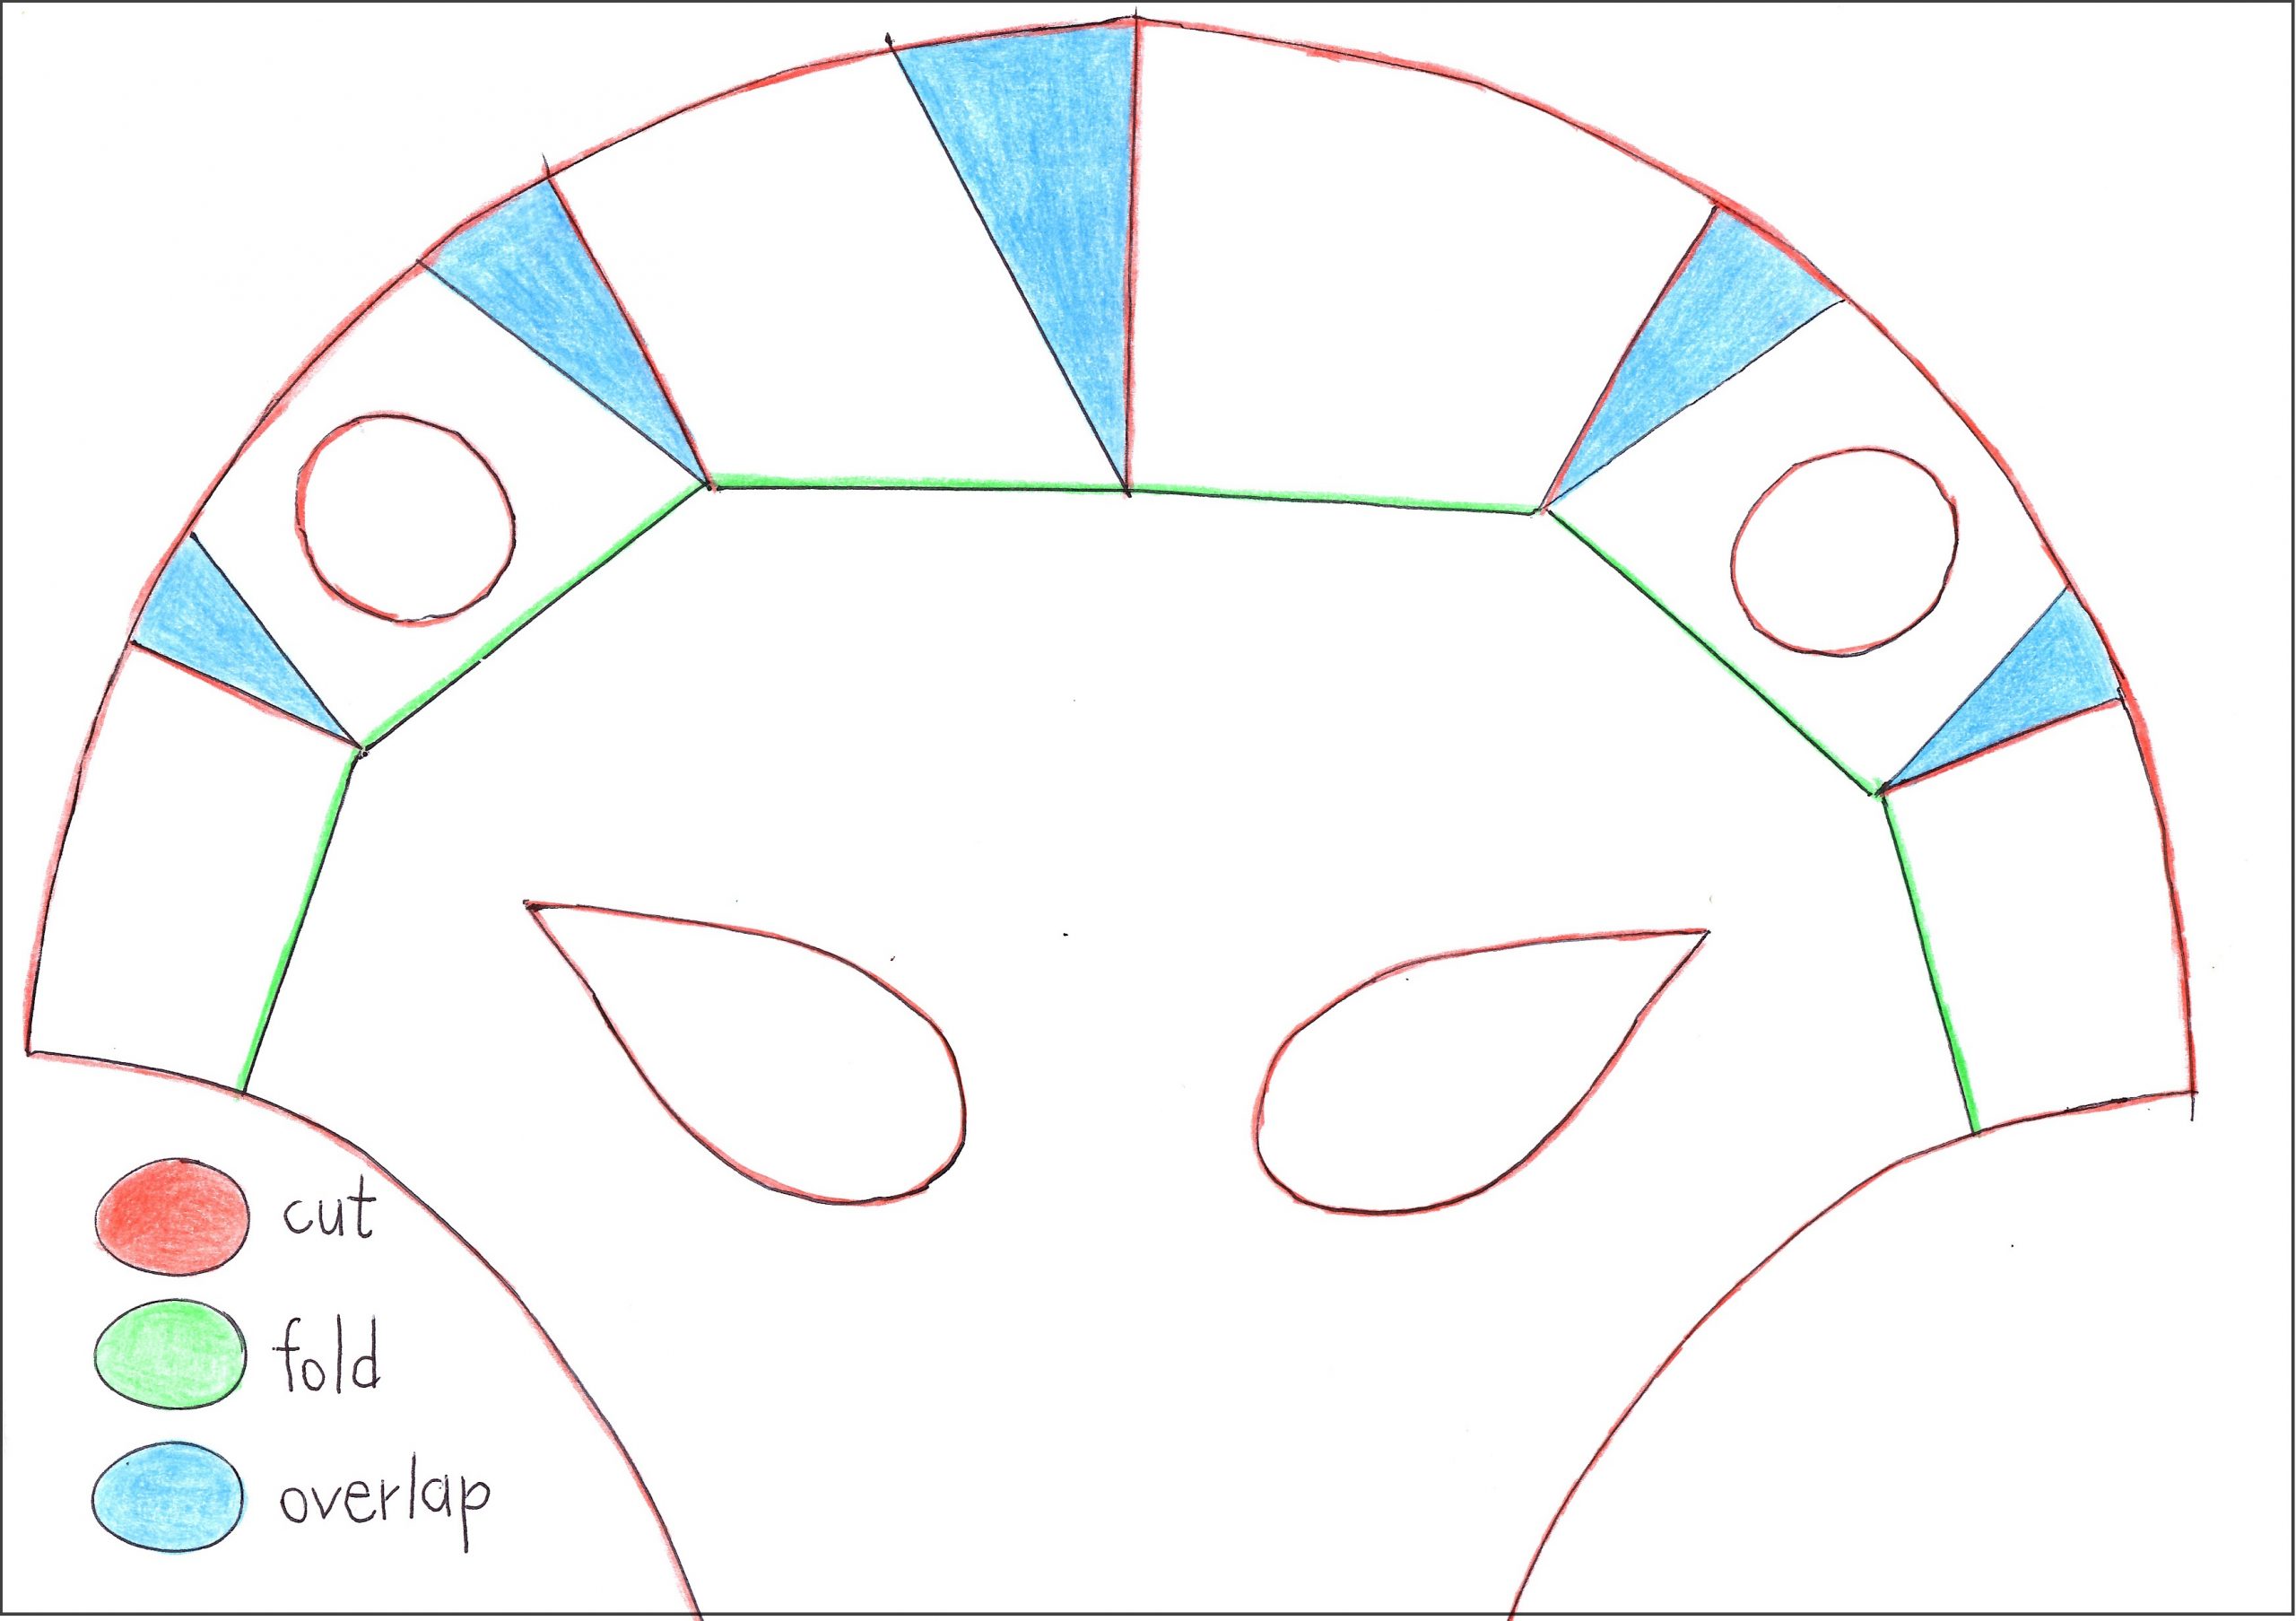
1) Draw the Face on an A4 sheet of paper, land scape
2) Decorate the face with Chinese patterns as in the picture below. We have coloured them to help you understand what each part is for.
The red lines are for cutting, the green line is for folding and the blue parts are where the shapes will overlap for sticking.

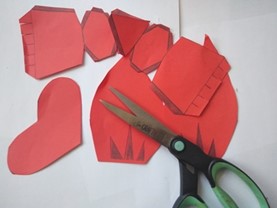
3) On a new piece of A4 paper draw 2 ears, a heart and 2 horn pieces as in the picture below.

Shade the parts that are in blue as you will need to over lap those later.
4) Cut the shapes out remember to cut on the red lines as in the pictures above.

If you have coloured paper use the shapes you have cut out as templates to draw round on you coloured paper.
If you don’t have coloured paper use your templates and follow the instructions from step 3 below.
Step 1 Draw round templates add patterns to the face and shade the areas for overlapping see below.


2) Cut out your shape
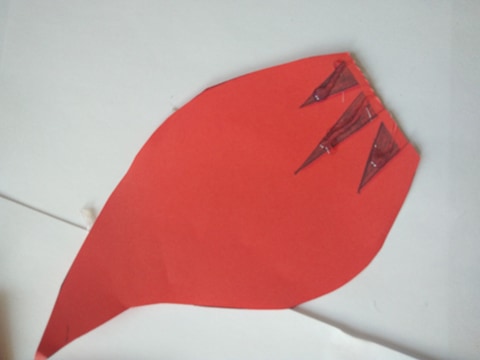
3) Make the ears
Put a small cut on the left side of each of the shaded triangles.
Glue the shaded triangles of the ears, fold the paper overlapping the triangles to make an cup shape this makes your ears more 3D.

Step 4.Make the face shape
- Cut out your face shapes including the holes for the horns and the eyes.
- Next cut along the side edge of each of the shaded triangles at the top of the face as in picture 2 below.
Then fold the shapes over and glue the shaded triangles and slide them behind the shape on either side of them.
It should look like picture 4 below.
1 2
2
3  4
4
Step 5. Make the horns.
Using the shapes you cut earlier fold the edges as in picture 1 and 2 below
1 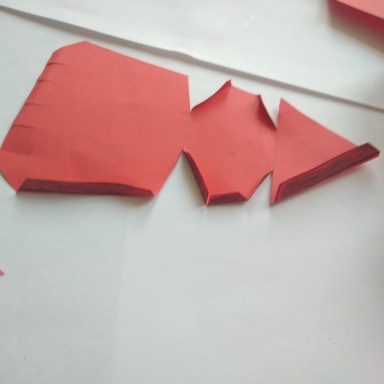 2
2
Glue the folded edges and stick them as in picture 3 and 4
3 4
4
When you have glued all the edges they should look like the horns in picture 5 below

Step 6. Put your mask together
Put glue on the little tabs at the bottom of both horns.
Turn you face over and slide your horns into the holes at the top of the face.


Bend the glued tabs at the bottom of the horn back onto the face as in picture 3 below.

Stick the heart on the center front of the face and stick the ears on either side of the face.
4

Add glitter, paint and more patterns to make your mask unique, sparkly and very Chinese!!

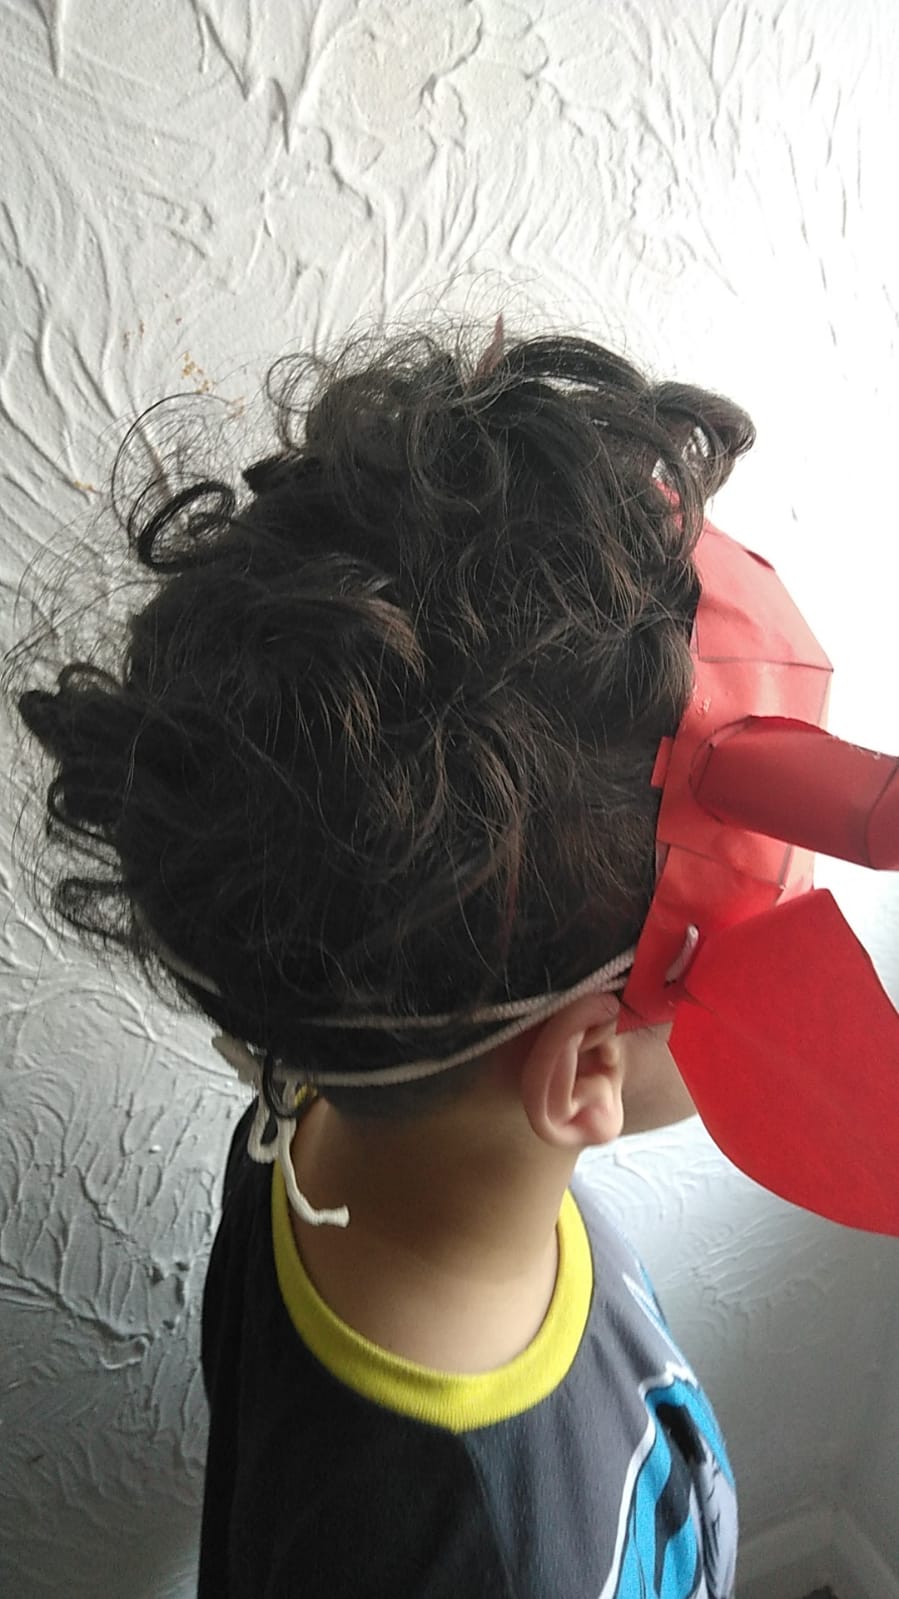
Add a piece of string behind the ears to tie your mask on your head.

If you don’t have red paper make your mask with what colours you have.

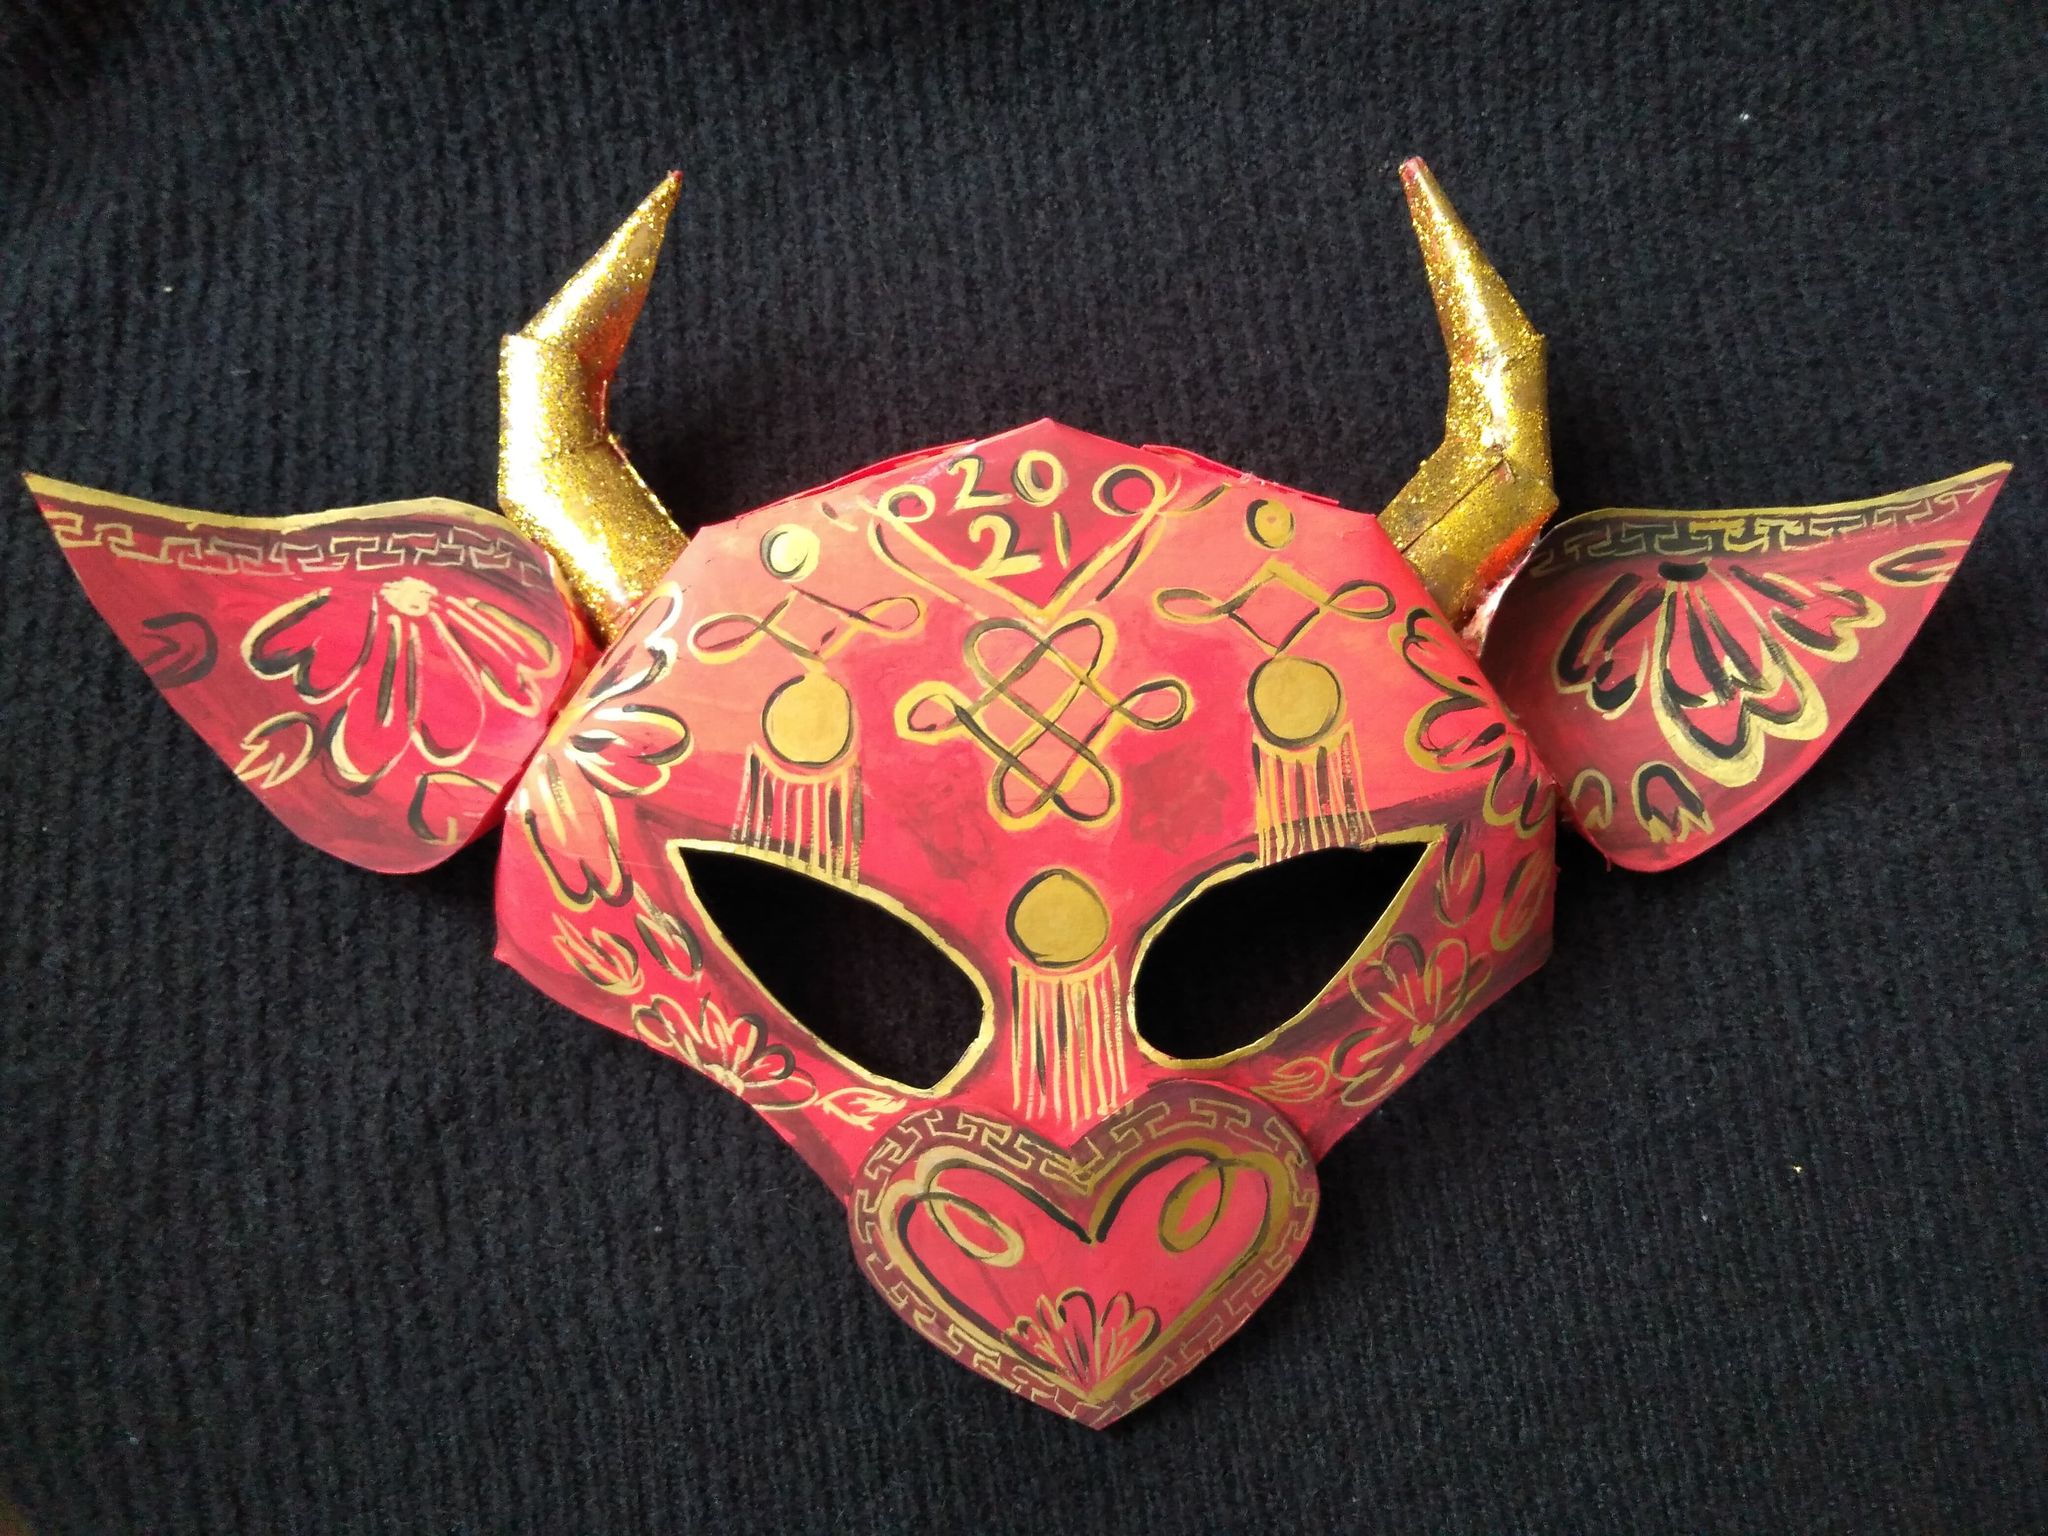
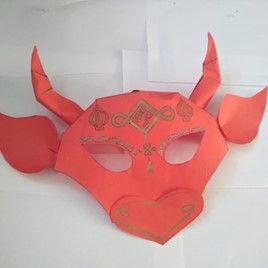
FINAL PIECE
Well done!! You now have a wonderful Chinese New Year of the Ox Mask.
You can add gems or foil to make it twinkle.
Now you know how to do it have fun making a mask to share with friends and families. Happy Chinese New Year!!!
We would love to see your fantastic creations so please share your pictures with us on social media @mahoganycarnival.
Thank you for using our template. We hope you enjoyed making your mask and we look forward to seeing you on our next creative making carnival workshop.