1. Cut a sheet of A4 paper in half, horizontally, and glue together with a 2cm overlap to make a long strip like in the photo below. This is the headband. Put the strip around your head to see if it will fits. You may need to add another piece of paper if it does not go all the way round.
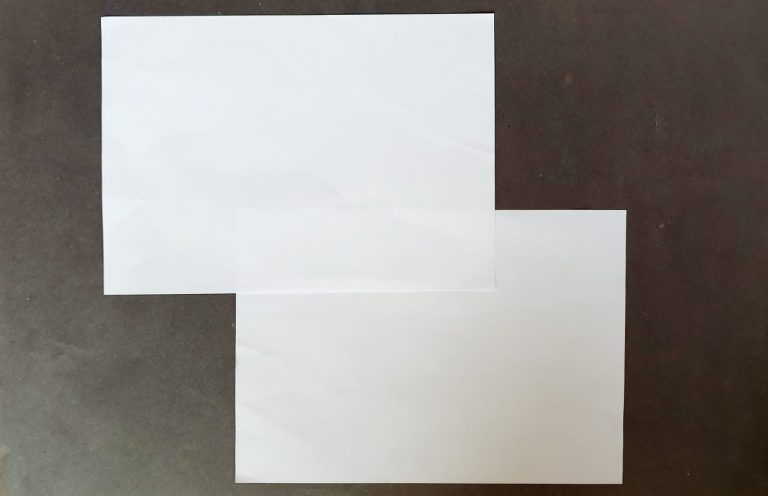
2. Lay your headband flat, put another A4 sheet (horizontally) in the middle then slant it so that the bottom centre of the A4 paper and the centre of the headband is lined up together and the bottom right corner is 4cm off the headband. Mark the overlap with a pencil lightly then glue the sheet of paper in position. Keep aside..
Step 2 - Drawing and Colouring the Peacock
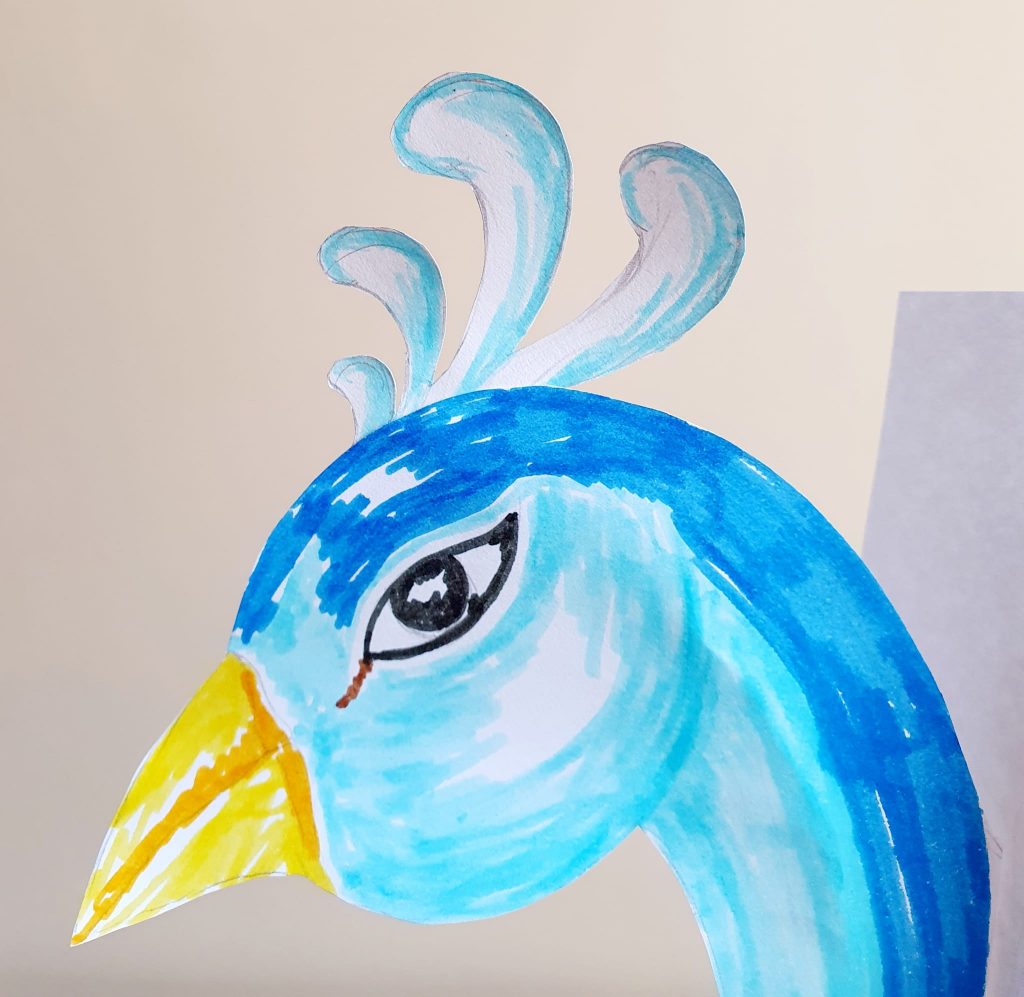
3. Lay a sheet of A4 paper down. On the top left hand side slightly overlap another sheet of A4 so it looks like a little ‘Z’ The measurement of the overlap on the right hand side is 6cm down and 10cm across from the top right corner of the bottom sheet. Glue the sheets in position. Then draw a peacock, similar to the picture below. Make sure you draw tabs on the neck.
4. Cut the peacock out. Keep aside.
5. Draw and cut a separate layer of the wing. stick the wing on to the main body of the peacock. Only apply the glue on the curved edge near the neck and the top leaving the bottom opened like a pocket. Keep aside.
6. Using the off cuts draw, colour and cut 14 peacock feathers roughly 9½cm long and 4½cm wide.
7. Slightly fold the ends of the feathers so it follows the curve.
Step 3- Arranging the feathers and wings on Headdress
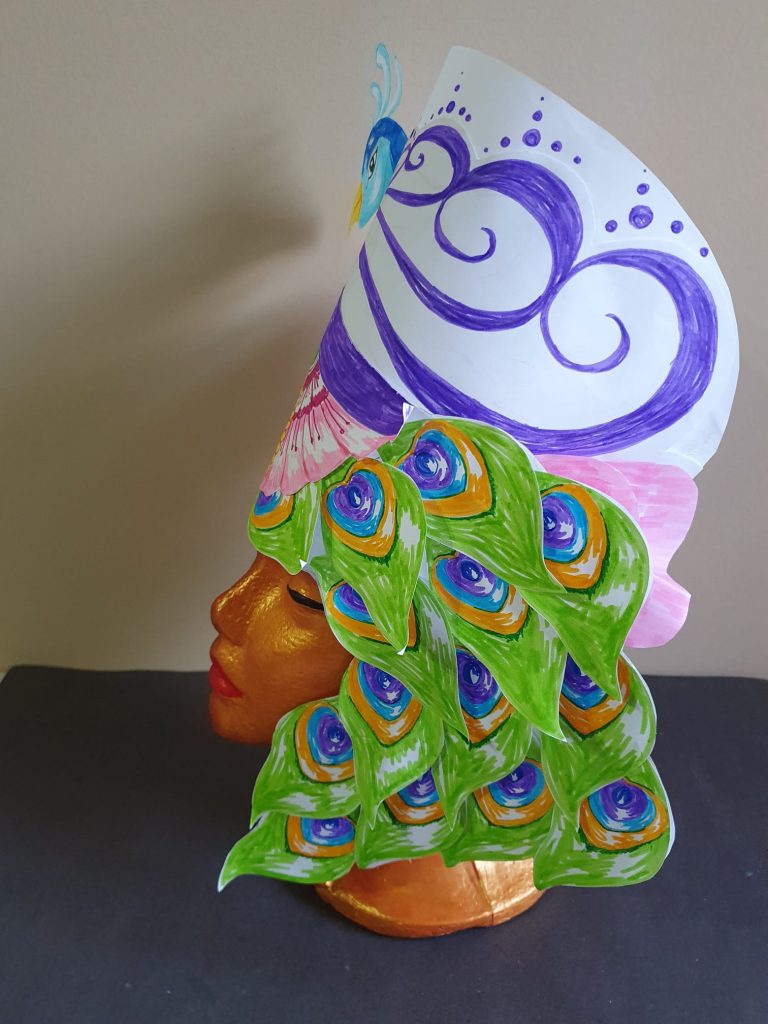
8. Colour the peacock adding henna patterns on the wing. Make sure you colour the back of the peacock head and neck too. Once the peacock is coloured glue it to the base of the hat so that the head of the peacock is on the left side (glue the tabs to keep the neck up) and the tail is on running down the right cheek. Make sure you do not cover the eyes!
9. Glue all the feathers in position. Start by tucking the feathers Slightly inside the ‘pocket’ of the wing you made and work your way down following the curve of the tail.
10. Draw, cut and colour a top curly pattern for the peacock head and glue it to the top of the head.
11. Draw, cut and colour about 11 peacock feathers just like the front ones but facing the opposite way.
12. Glue the feathers on the back of the making sure they are matching with the front.
13. Draw 6 flower petals 10cm long and 11cm wide.
14. Colour and cut them
15. Fold and glue the bottom of the petals so that they are not flat. Keep aside.
Step 4 -Adding the finishing touches
16. Above the peacock wing draw a curly pattern
17. Stick 3 petals behind the peacock neck and 3 behind the tail.
18. Cut any bits that are covering your eyes
19. Round off the two corners on top.
WELL DONE!
HOPE YOU HAD FUN CREATING YOUR OWN DIWALI HEADDRESS
You can add some glitter to the feathers and wings to make it more creative and sparkle.
Have fun with your Diwali Headdress
We would love to see your fantastic creations so please share your pictures with us on social media @mahoganycarnival.
Thank you for using our template. We hope you enjoyed making your Diwali headdress and we look forward to seeing you on our next creative making carnival workshop.


")
")
")


")